

Introduction
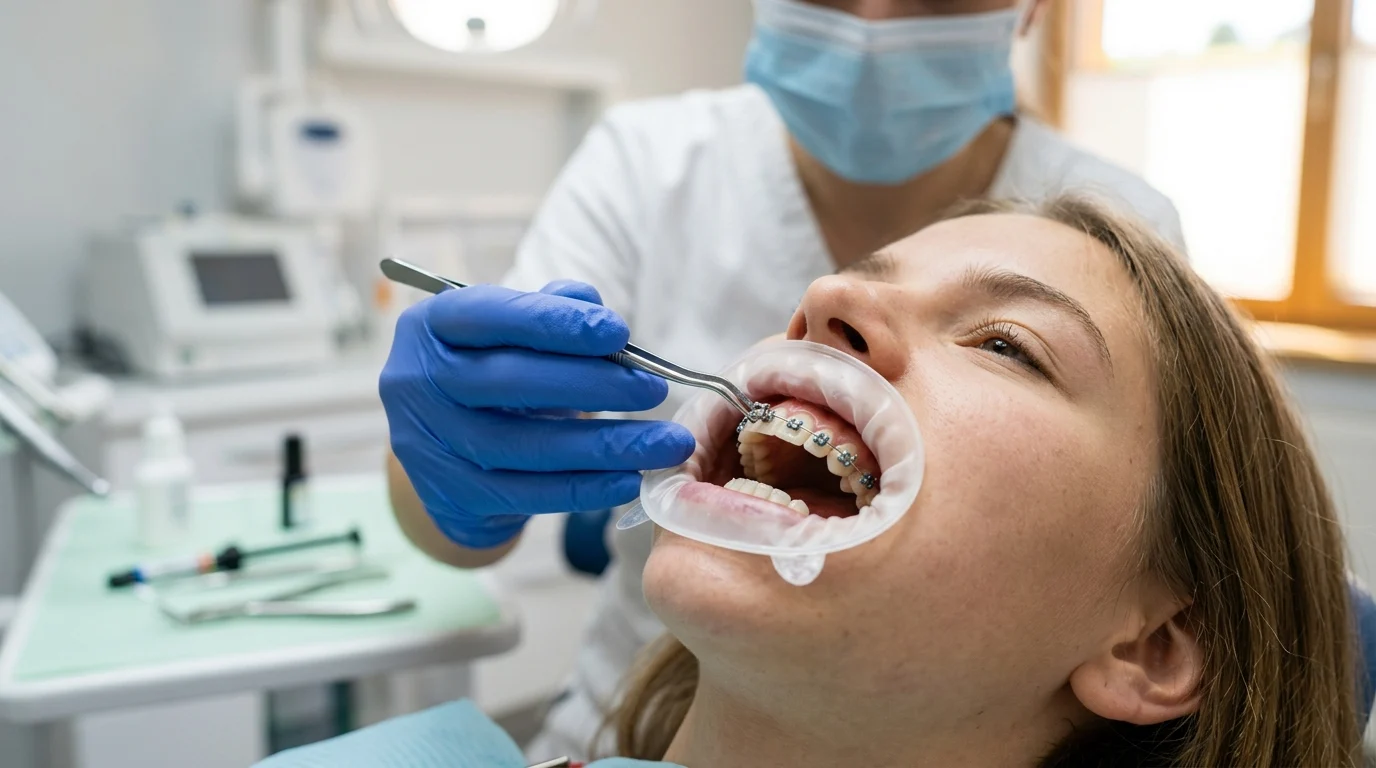
Bracket bond failure is more than an occasional inconvenience in fixed appliance therapy: it interrupts force delivery, adds unplanned chair time, and can lengthen overall treatment. Preventing these failures depends on more than adhesive choice alone, because isolation, enamel preparation, bracket placement, curing technique, occlusal factors, and patient habits all influence bond reliability. This article outlines the most common causes of debonding and the practical steps clinicians can take to reduce them, helping readers identify preventable weak points in the bonding workflow and improve treatment efficiency, consistency, and patient outcomes.
Why orthodontic bracket bonding failure matters clinically
Orthodontic bracket bonding is a foundational procedure in fixed appliance therapy. Despite continuous advancements in adhesive technology, bracket bond failure remains a pervasive clinical challenge that disrupts workflows and compromises patient outcomes. Industry consensus targets a baseline bond failure rate of 3% to 8% over the course of a comprehensive treatment plan. Exceeding this threshold signals systemic issues in the clinical workflow, material selection, or patient compliance that demand immediate correction and strategic oversight.
Impact on chair time and treatment progress
Unplanned debonding events severely disrupt clinical efficiency and inflate overhead costs. Each bracket failure typically consumes an additional 15 to 20 minutes of unscheduled chair time for the removal of residual composite, surface re-preparation, and precise rebonding. Furthermore, broken brackets interrupt the continuous force delivery required for optimal tooth movement. Clinical data indicates that a single bracket failure can extend the overall treatment duration by 1 to 2 months, thereby decreasing practice profitability, monopolizing schedule blocks, and increasing patient fatigue.
Failure patterns that indicate preventable causes
Analyzing the timing and location of failures provides critical diagnostic data for the orthodontic team. Early failures, occurring within the first 1 to 3 weeks post-bonding, almost exclusively point to procedural errors such as inadequate moisture control, insufficient curing time, or improper acid etching. Conversely, late failures occurring after 3 to 6 months are generally attributed to excessive masticatory forces, occlusal interferences, or patient non-compliance with dietary restrictions. Evaluating the Adhesive Remnant Index (ARI) after a failure—scoring from 0 (no adhesive left on the enamel) to 3 (all adhesive remains on the enamel)—helps clinicians definitively pinpoint whether the failure occurred at the enamel-adhesive interface or the bracket-adhesive interface.
Key factors that influence orthodontic bracket bonding success
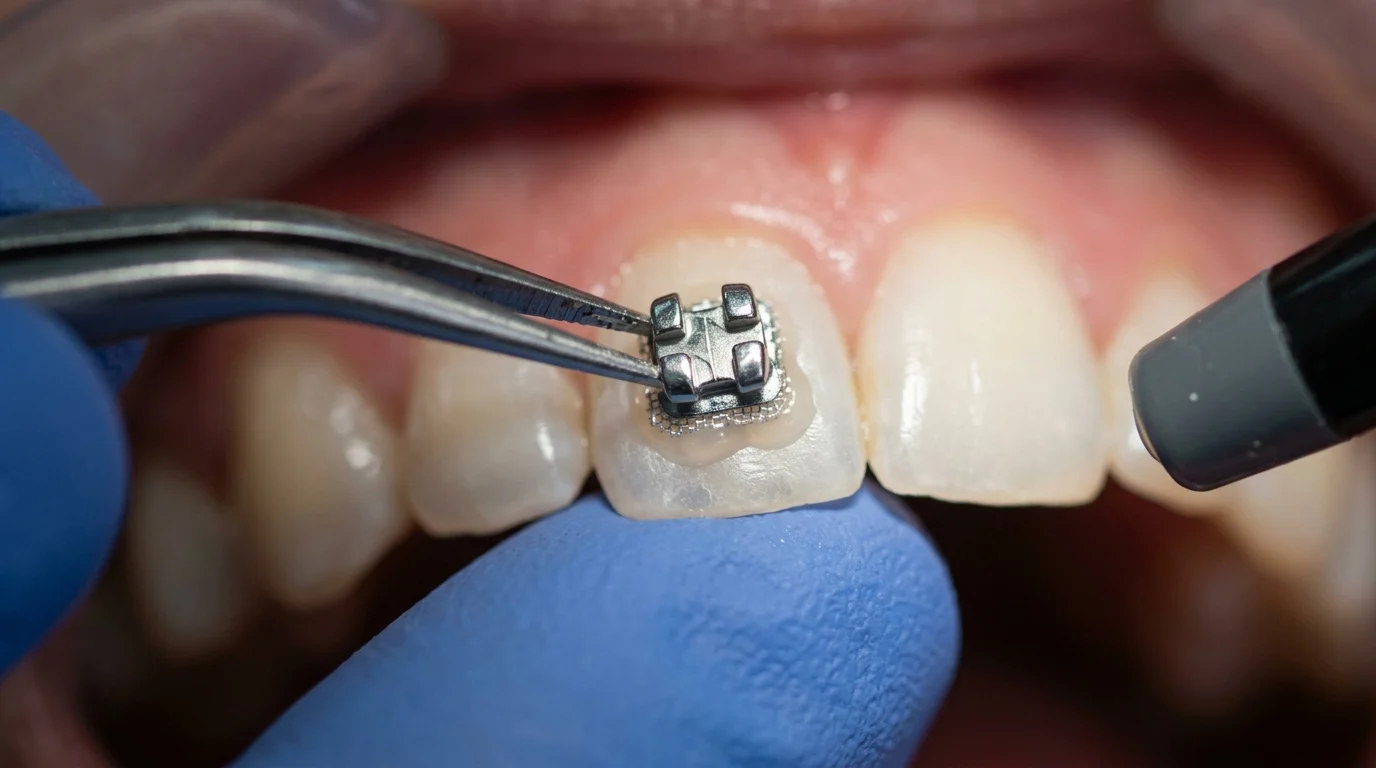
Achieving predictable orthodontic bracket bonding relies on a complex interplay of biological, mechanical, and chemical variables. Mastery of these elements ensures the shear bond strength (SBS) falls within the optimal clinical range of 6 to 8 Megapascals (MPa)—strong enough to withstand orthodontic and masticatory forces, yet weak enough to allow safe debonding without enamel fracture.
Enamel condition, moisture control, and patient factors
Enamel composition and moisture control dictate the success of the micro-mechanical lock. Salivary or blood contamination during the bonding sequence can reduce bond strength by up to 50%, virtually guaranteeing early failure. Patients with hypomineralized enamel, severe fluorosis, or atypical prism structures present additional challenges, requiring modified conditioning protocols. The use of cheek retractors, saliva ejectors, and ideally, dry-field illumination systems is critical to maintaining a pristine operating field before any adhesive is applied.
Bracket base design, adhesive choice, and curing
The interface between the bracket base and the adhesive is just as critical as the enamel-adhesive bond. Modern bracket bases utilize 80-gauge foil mesh or laser-structured undercuts to maximize surface area for mechanical interlocking. The choice of adhesive—typically a light-cure composite resin or a resin-modified glass ionomer (RMGI)—must align with the bracket material and the clinical environment. RMGIs offer superior moisture tolerance but generally yield a lower SBS (around 5 to 7 MPa) compared to traditional composite resins, which reliably achieve 8 to 11 MPa under ideal conditions.
Mechanical, chemical, and procedural contributors
Procedural execution and equipment calibration round out the success triad. Light curing units (LCUs) degrade over time; an irradiance output below 1,000 mW/cm² will result in incomplete polymerization of the adhesive under the bracket base, leaving the polymer network vulnerable to hydrolytic degradation.
| Bonding Parameter | Suboptimal Condition | Optimal Target | Clinical Impact of Suboptimal |
|---|---|---|---|
| Light Curing Irradiance | < 800 mW/cm² | 1,000 – 1,500 mW/cm² | Incomplete polymerization, early failure |
| Shear Bond Strength (SBS) | < 5 MPa or > 14 MPa | 6 – 10 MPa | Bracket detachment or enamel tearing |
| Bracket Base Design | Smooth or shallow undercut | 80-gauge mesh or laser-etched | Poor adhesive retention (ARI score 0) |
How to standardize the orthodontic bracket bonding protocol
Variability in clinical execution is the primary driver of elevated rebond rates. Establishing a rigid, standardized protocol ensures that every staff member performs the procedure with exact precision, thereby isolating material or patient factors when bracket bond failures do occur.
Step-by-step bonding workflow
The standard workflow begins with a thorough prophylaxis using a fluoride-free, oil-free pumice paste. Fluoride and essential oils leave microscopic residues that inhibit acid etching and compromise primer penetration. Following prophylaxis, the teeth are isolated and thoroughly dried. The standard etch-and-rinse technique requires applying 37% phosphoric acid to the target area, followed by a meticulous rinse and air-dry until the enamel presents a chalky, frosted appearance. Primer is then applied in a thin, uniform layer, followed by the precise positioning of the adhesive-loaded bracket.
Surface preparation, primer, adhesive handling, and curing
Timing and material handling at the microscopic level dictate bond integrity. The 37% phosphoric acid should remain on intact enamel for exactly 15 to 30 seconds. Over-etching dissolves enamel prisms excessively, weakening the structural foundation, while under-etching fails to create sufficient microporosities. The rinsing phase must last at least 15 seconds to remove all silica and acid byproducts. When applying the primer, clinicians must use a gentle air burst to thin the liquid, preventing pooling that can act as a structural weak point in the cured composite matrix.
Quality-control checkpoints to reduce rebond rates
Quality control must be embedded into the workflow before the final cure. A critical checkpoint is the meticulous removal of composite flash around the bracket margins using an explorer or scaling instrument. Excess flash not only creates plaque-retentive areas that lead to white spot lesions but also exposes more adhesive to hydrolytic degradation in the oral cavity. Additionally, practices must implement weekly radiometer testing of all LCUs to ensure output remains above the 1,000 mW/cm² threshold, replacing curing tips or batteries as soon as an output drop is detected.
When to modify bonding for materials and case conditions
While standardized protocols suffice for virgin enamel, modern orthodontic caseloads frequently involve diverse restorative materials and specialized bracket systems. Clinicians must dynamically adjust their chemistry and technique to accommodate these variations without compromising structural integrity or patient safety.
Adjustments for ceramic brackets and restorative surfaces
Ceramic brackets present a unique hazard: they bond too well. Polycrystalline and monocrystalline alumina brackets can achieve an SBS of 15 to 20 MPa when used with standard chemical coupling agents. This high strength exceeds the cohesive strength of enamel, creating a severe risk of enamel fracture during debonding. To mitigate this, clinicians should rely solely on the mechanical retention of the ceramic bracket base, avoiding aggressive chemical adhesion on intact enamel. Conversely, bonding to restorative surfaces requires aggressive chemical modification.
| Surface Type | Preparation Requirement | Primer / Chemical Agent | Target SBS Range |
|---|---|---|---|
| Virgin Enamel | 37% Phosphoric Acid (15-30s) | Standard Resin Primer | 6 – 8 MPa |
| Porcelain / Ceramic | 9% Hydrofluoric Acid (60s) | Silane Coupling Agent | 8 – 10 MPa |
| Amalgam / Gold | Sandblasting (50µm Al₂O₃) | Metal Alloy Primer | 5 – 7 MPa |
| Composite Restoration | Roughening with diamond bur | Plastic Conditioner / Primer | 6 – 9 MPa |
Manufacturer instructions, infection control, and isolation
Strict adherence to manufacturer instructions is vital when deviating from standard composite resins. In scenarios where moisture control is virtually impossible—such as erupting second molars or surgically exposed impactions—clinicians often pivot to self-etching primers (SEPs) or hydrophilic moisture-insensitive adhesives. SEPs combine the etching and priming steps, reducing the technique sensitivity associated with the rinsing phase and cutting application time by up to 40%. However, SEPs generally produce a shallower etch pattern, yielding an SBS roughly 10% to 15% lower than traditional phosphoric acid systems.
Balancing bond strength, debond safety, and efficiency
The ultimate goal in modifying bonding protocols is maintaining the delicate balance between retention and safe removal. The targeted SBS for any modified protocol should remain within the safe corridor of 6 to 10 MPa. For highly compromised enamel or heavily restored dentitions, clinicians may intentionally aim for the lower end of this spectrum using RMGIs. This guarantees that if a failure occurs under heavy load, it happens cleanly at the adhesive interface rather than causing catastrophic damage to the underlying restoration or fragile tooth structure.
How practices can reduce orthodontic bracket bonding failures
Long-term reduction of bracket failures requires shifting from reactive rebonding to proactive system management. By treating every debonded bracket as a clinical data point, practices can identify trends, isolate root causes, and deploy targeted interventions.
Rebond audits, metrics, and staff training
The foundation of continuous improvement is the rebond audit. Practices should systematically track the Bracket Failure Rate (BFR) by recording the date, tooth number, bracket type, and suspected cause for every failure. A healthy, well-calibrated practice should maintain a BFR below 5%. If audits reveal a spike in failures associated with a specific quadrant, a particular staff member, or a specific batch of adhesive, the practice can implement targeted retraining or consider reaching out to suppliers for material troubleshooting and validation. Staff training should occur bi-annually, focusing strictly on isolation techniques, precise adhesive dispensing, and correct curing angles.
Prevention priorities for high-risk cases
Clinical audits often reveal that a disproportionate percentage of failures occur in high-risk scenarios, such as deep bite cases, teeth with heavy masticatory interference, or patients with severe bruxism. Preventive protocols for these cases must be established prior to initial bonding. Utilizing bite turbos or glass ionomer bite blocks on the lingual of maxillary incisors or occlusal of molars can provide the necessary 1 to 2 mm of vertical clearance to prevent shearing forces on mandibular brackets. Additionally, prescribing softer diets and utilizing lighter initial archwires (such as 0.012 or 0.014 NiTi) can minimize early mechanical stress on the newly cured adhesive matrix, significantly improving long-term survivability.
Further reading:
Key Takeaways
- The most important conclusions and rationale for orthodontic bracket bonding
- Specs, compliance, and risk checks worth validating before you commit
- Practical next steps and caveats readers can apply immediately
Frequently Asked Questions
What is the ideal bond strength for orthodontic brackets?
Aim for about 6 to 10 MPa. This range is strong enough for treatment forces but low enough to reduce enamel damage during debonding.
Why do brackets often fail within the first few weeks?
Early failures usually come from moisture contamination, under-etching, poor adhesive placement, or insufficient light curing. Tight dry-field control and calibrated curing lights help prevent this.
Which adhesive works better in a moist bonding environment?
Resin-modified glass ionomer is usually more tolerant of slight moisture than composite resin. It can be a practical choice when ideal isolation is difficult.
How can bracket base design reduce bond failure?
Choose brackets with 80-gauge mesh or laser-etched bases. These designs improve mechanical retention and support more reliable adhesive interlocking.
How can DenRotary bracket products help lower rebond rates?
Select DenRotary brackets with retentive base designs and match them with the correct adhesive and curing protocol. Consistent product selection plus standardized bonding steps reduces avoidable failures.

Post time: Jun-22-2026