


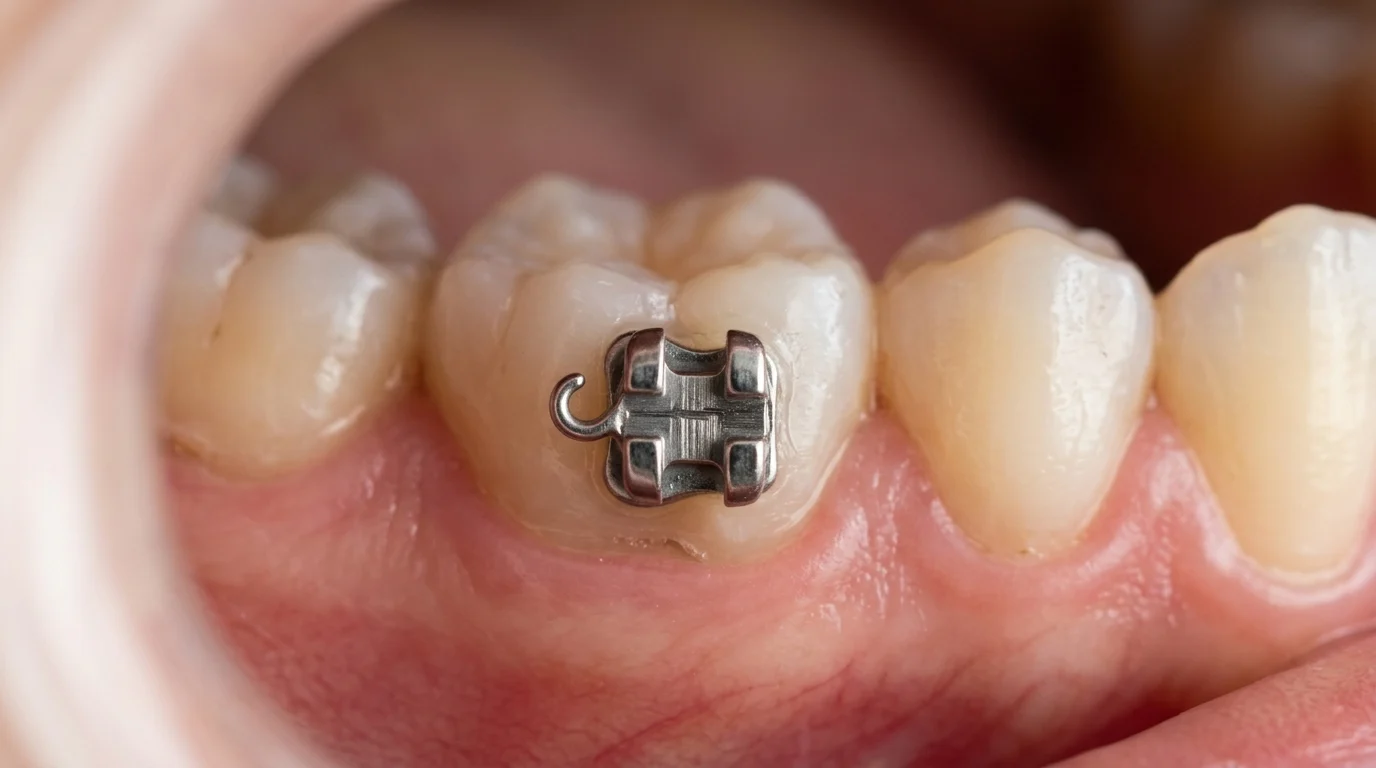
Introduction
First and second molars may sit side by side, but they differ in crown shape, eruption pattern, and biomechanical role—differences that make a single buccal tube design less than ideal. This article explains why buccal tubes for these teeth are engineered differently, focusing on base adaptation, slot orientation, profile, and force control. You will see how tooth-specific design improves archwire seating, reduces unwanted friction, and supports more accurate three-dimensional tooth movement. With that context, the discussion can move from anatomy to appliance design and then to the clinical effects on efficiency, stability, and treatment precision.
Why 1st and 2nd Molar Buccal Tube Designs Matter
In modern fixed orthodontic appliances, buccal tubes function as the critical posterior anchors that govern archwire stability, space closure mechanics, and final occlusal settling. While historically some practitioners utilized universal molar attachments to streamline inventory, contemporary biomechanical standards dictate that first and second molars require highly specialized, distinct buccal tube designs. Treating these two distinct anatomical units as interchangeable compromises three-dimensional tooth control and introduces unnecessary friction into sliding mechanics.
The shift toward tooth-specific posterior attachments has been driven by the refinement of pre-adjusted edgewise appliances. Recognizing the functional divergence between the first and second molars—both in their eruptive timelines and their roles in arch perimeter management—manufacturers now engineer tubes with precise variations in base contour, profile height, and slot geometry. Understanding these engineering distinctions is essential for clinicians aiming to optimize force delivery and for procurement specialists evaluating the clinical efficacy of orthodontic hardware.
Impact on treatment efficiency
The selection of anatomically correct buccal tubes directly correlates with clinical efficiency and the predictability of treatment outcomes. When a first molar tube is inappropriately bonded to a second molar, the mismatch in base contour often leads to premature bond failure or incomplete seating, requiring emergency visits and rebonding procedures. Utilizing molar-specific designs can reduce detailing and finishing phases by an estimated 15% to 20%, as the built-in prescriptions eliminate the need for complex, compensatory wire bending at the terminal ends of the archwire.
Furthermore, the precise interaction between the archwire and the tube slot—whether in a 0.018-inch or 0.022-inch system—dictates the expression of torque and angulation. Molar-specific tubes ensure that the wire sequence expresses the intended prescription without binding. By minimizing friction and maximizing surface area contact against the specific molar’s buccal face, clinicians achieve faster sliding mechanics during space closure and more reliable anchorage preparation.
Why 1st and 2nd molars need different designs
The primary reason first and second molars demand different designs lies in their distinct roles within the dental arch. The first molar acts as the primary masticatory anchor and frequently serves as an intermediate unit in the archwire span when second molars are engaged. Consequently, first molar tubes often require convertible caps or auxiliary slots to accommodate complex mechanics, such as headgear application, lip bumpers, or dual-archwire setups.
Conversely, the second molar typically serves as the terminal anchor of the orthodontic appliance. As the endpoint of the archwire, the second molar tube must manage the distal wire ends without causing soft tissue trauma to the buccal mucosa or the retromolar pad. This terminal position requires a non-convertible, low-profile design with a funneled mesial opening to facilitate blind wire insertion in an area of the mouth where clinical access and visibility are severely restricted.
Anatomical and Biomechanical Differences
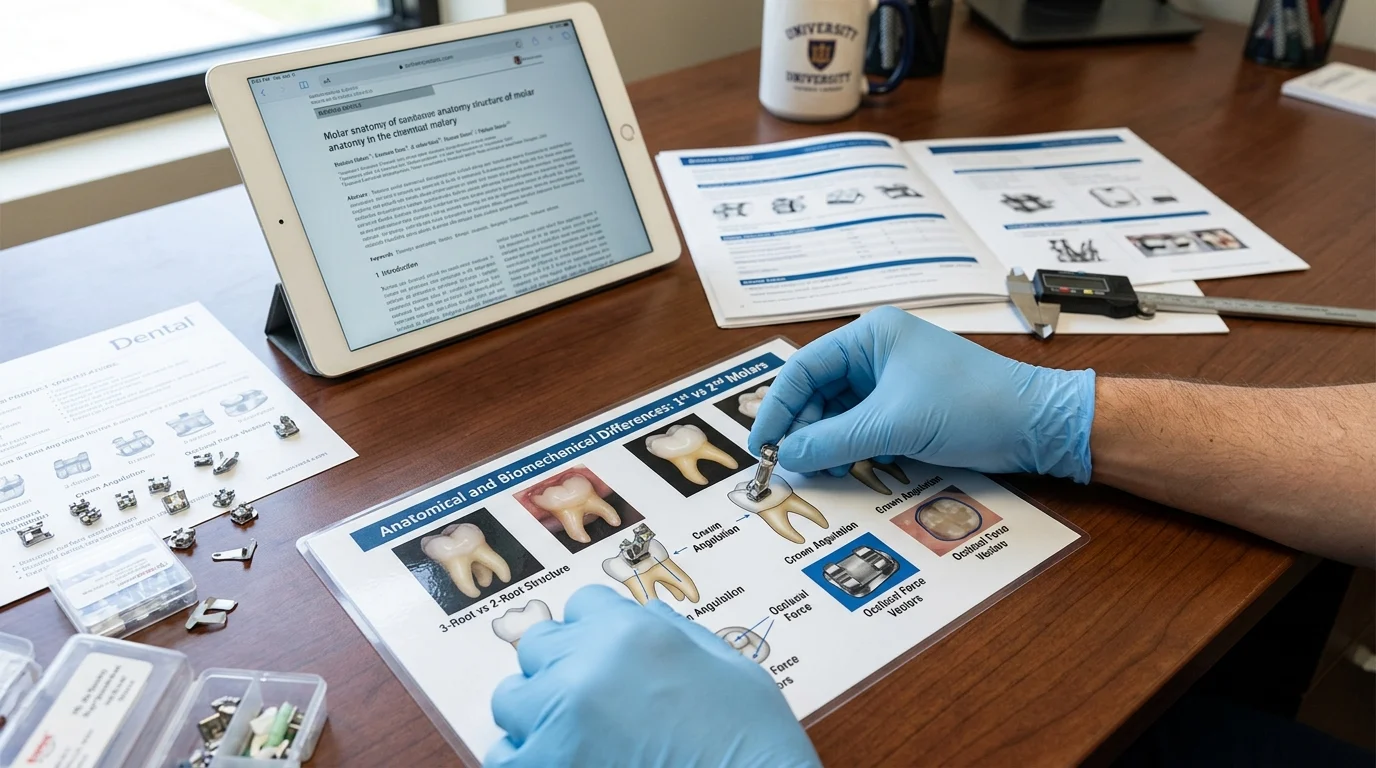
The necessity for distinct buccal tube designs is fundamentally rooted in the anatomical and biomechanical differences between the first and second molars. From the convexity of the buccal enamel to the specific torque requirements needed to achieve a Class I interdigitation, the posterior dentition presents a highly variable landscape. Engineering buccal tubes that conform precisely to these localized demands ensures optimal force transfer from the archwire to the periodontium.
Crown morphology and eruption status
The crown morphology of a first molar differs significantly from that of a second molar. First molars generally feature a broader, flatter buccal surface, which allows for a larger bonding pad—often extending up to 4.5 mm in mesiodistal width. This expansive pad maximizes the adhesive surface area, providing the necessary shear bond strength to withstand heavy masticatory forces and the strain of intermaxillary elastics.
Second molars, however, present a more convex and clinically shorter buccal crown, particularly in adolescent patients where the tooth may be only partially erupted. To prevent occlusal interference and gingival impingement, second molar tubes are engineered with a significantly reduced occlusogingival profile, often measuring less than 1.8 mm in height. The bonding pad is proportionally scaled down and features a deeper contour to match the sharp convexity of the second molar’s buccal surface, ensuring a uniform adhesive thickness and preventing bond failure.
Torque control and rotational demands
Pre-adjusted edgewise systems rely on the buccal tube to deliver specific torque (buccolingual inclination) and rotational offsets. Because the first and second molars sit at different points along the curve of Spee and the curve of Wilson, their prescribed values must differ to prevent plunging palatal cusps or crossbite tendencies. For example, second molars generally require less negative torque than first molars in the mandibular arch to maintain proper uprighting without rolling the crown excessively inward.
| Prescription System | Tooth | Torque | Angulation | Distal Offset |
|---|---|---|---|---|
| Roth | Upper 1st Molar | -14° | 0° | 14° |
| Roth | Upper 2nd Molar | -14° | 0° | 14° |
| MBT | Lower 1st Molar | -20° | 0° | 0° |
| MBT | Lower 2nd Molar | -10° | 0° | 0° |
As demonstrated in the standard prescriptions above, the variance in rotational offset is also critical. First molars frequently feature a 10° to 14° distal offset to rotate the mesiobuccal cusp outward, compensating for the tooth’s natural trapezoidal shape. Second molar tubes may feature altered or zero offsets depending on the prescription, as excessive rotation at the terminal end of the arch can displace the wire laterally into the cheek.
Access and archwire engagement
Clinical access to the second molar is notoriously difficult due to the narrowing of the vestibular space and the presence of the masseter muscle. While first molar tubes are easily visualized, allowing for straightforward archwire engagement, second molar tubes are often bonded blindly. To compensate for this anatomical hurdle, second molar tubes are specifically designed with pronounced trumpet-shaped or funneled mesial openings.
This chamfered entrance acts as a guide, allowing the clinician to slide a flexible NiTi archwire into the 0.022-inch or 0.018-inch slot by feel rather than direct sight. Furthermore, the distal aspect of a second molar tube is usually smoothed and rounded, lacking the distal extensions occasionally found on first molar tubes, to prevent the sharp end of the archwire from irritating the posterior mucosal tissues.
Key Buccal Tube Design Features
Translating the biomechanical requirements of first and second molars into physical hardware requires advanced metallurgical engineering and precision manufacturing. The key design features of a buccal tube—ranging from its slot configuration to its base mesh—determine its clinical utility, patient comfort, and structural resilience under continuous orthodontic loading.
Slot configuration and hook placement
First molar tubes are highly versatile, frequently featuring a convertible twin-bracket design. A convertible tube includes a thin metallic cap over the main archwire slot that can be peeled off using a specialized instrument, effectively transforming the tube into a standard bracket. This is crucial when the second molar is engaged later in treatment, allowing the archwire to be tied into the first molar rather than threaded through it. Additionally, first molar tubes often incorporate a 0.045-inch occlusal or gingival auxiliary slot to accept headgear facebows or lip bumpers.
Second molar tubes, in contrast, are almost universally single, non-convertible tubes. Because no teeth are banded or bonded distal to them, there is no need for convertibility. Their design prioritizes a low profile and a smooth, snag-free exterior. Hook placement also varies; while first molar tubes feature robust, malleable gingival hooks for heavy Class II or Class III elastics, second molar hooks are either absent or tightly integrated into the base profile to minimize tissue irritation.
Bondable vs weldable options
The method of attachment significantly influences buccal tube design. Direct bondable tubes feature a contoured base equipped with a mechanical retention mechanism, most commonly an 80-gauge foil mesh. This mesh provides micro-mechanical interlocking with the orthodontic composite, aiming to achieve a shear bond strength (SBS) of 8 to 10 MPa—the optimal range to withstand masticatory forces without risking enamel fracture upon debonding.
Weldable buccal tubes are devoid of a mesh base; instead, they feature a smooth, curved flange designed to be laser-welded or spot-welded directly onto stainless steel molar bands. While direct bonding is increasingly preferred for its hygienic benefits and ease of placement, weldable tubes on bands remain the gold standard for first molars requiring heavy orthopedic forces (such as rapid palatal expansion) or in cases involving extensive cast restorations where composite adhesion is compromised.
Materials and surface treatment
Modern buccal tubes are predominantly manufactured using Metal Injection Molding (MIM) technology. This process allows for the creation of complex, one-piece geometries with exacting tolerances that traditional machining cannot achieve. The standard material is 17-4 PH (precipitation-hardening) stainless steel, chosen for its exceptional tensile strength and resistance to deformation under the torqueing forces of heavy rectangular archwires.
Surface treatment is a critical secondary process. To reduce sliding friction between the archwire and the tube slot, manufacturers utilize advanced electro-polishing or centrifugal tumbling techniques to achieve a surface roughness (Ra) of less than 0.2 micrometers. For patients with severe nickel allergies, specialized tubes milled from titanium or cast from nickel-free cobalt-chromium alloys are also available, though they represent a smaller fraction of the global inventory.
Evaluation and Selection Criteria
For clinical directors, orthodontic practice owners, and supply chain managers, selecting the appropriate buccal tubes requires balancing biomechanical precision with inventory economics. A rigorous evaluation framework ensures that the selected hardware meets international quality standards, integrates seamlessly with the practice’s chosen prescription system, and maintains cost-efficiency across high-volume case loads.
Quality control and compliance checks
Orthodontic attachments are classified as Class II medical devices and must adhere to strict regulatory standards, including ISO 13485 certification and FDA 510(k) clearance. When evaluating buccal tube suppliers, the primary quality control metric is dimensional accuracy. The archwire slot must maintain a tolerance of ±0.001 inches; any deviation beyond this threshold introduces ‘slop’ into the system, resulting in a loss of torque expression and prolonged treatment times.
| Quality Metric | Industry Standard | High-Performance Threshold |
|---|---|---|
| Slot Tolerance | ±0.002 inches | ±0.001 inches |
| Base Mesh Density | 60-gauge | 80-gauge micro-etched |
| Base Shear Bond Strength | >6.0 MPa | 8.0 – 12.0 MPa |
| Manufacturing Defect Rate | <1.0% | <0.1% |
Furthermore, the structural integrity of the tie wings and hooks must be tested for deformation resistance. High-quality MIM tubes undergo rigorous stress testing to ensure hooks can withstand continuous elastic forces exceeding 300 grams without bending or fracturing.
Inventory and case-mix considerations
Managing an orthodontic inventory requires strategic oversight of Minimum Order Quantities (MOQs) and SKU diversity. Because buccal tubes are quadrant-specific (Upper Right, Upper Left, Lower Right, Lower Left) and tooth-specific (1st vs. 2nd molar), a comprehensive inventory requires stocking at least 8 distinct SKUs just for basic single tubes. When factoring in convertible options, double tubes, and varying prescriptions (Roth, MBT, Edgewise), the SKU count can easily exceed 30 variants.
To optimize the supply chain, practices must analyze their case mix. A clinic treating a high volume of early mixed-dentition cases will consume significantly more first molar tubes, as second molars may not yet be erupted. Conversely, a practice focused on adult orthodontics must maintain parity in stock levels between first and second molar tubes. Bulk procurement often requires MOQs of 500 to 1,000 units per variant to secure favorable per-unit pricing, making accurate consumption forecasting essential.
Step-by-step selection framework
Establishing a standardized procurement framework mitigates the risk of clinical errors and supply shortages. The first step involves standardizing the practice’s prescription (e.g., universal adoption of MBT 0.022″), which instantly eliminates redundant SKUs. The second step requires evaluating the clinical failure rate of current stock—specifically tracking the frequency of second molar debonds, which often indicates an inadequate base contour or excessive profile height.
Finally, procurement officers should request sample batches from prospective manufacturers for in vivo testing.
Key Takeaways
- The most important conclusions and rationale for Buccal Tube
- Specs, compliance, and risk checks worth validating before you commit
- Practical next steps and caveats readers can apply immediately
Frequently Asked Questions
Why do 1st and 2nd molars need different buccal tube designs?
They have different crown shapes and roles in treatment. First molars often need stronger anchorage and auxiliaries, while second molars need lower-profile terminal tubes for comfort and easier wire insertion.
What happens if a 1st molar tube is bonded on a 2nd molar?
Base mismatch can reduce seating and bond strength, increase friction, and make finishing less accurate. It may also cause soft-tissue irritation at the distal end.
Why are 2nd molar buccal tubes usually low profile?
Second molars are more posterior, often partly erupted, and closer to soft tissue. A low-profile design helps reduce occlusal interference and cheek irritation.
Which features are more common in 1st molar buccal tubes?
First molar tubes more often include auxiliary slots or convertible options for headgear, lip bumpers, or added mechanics, because they serve as key anchorage units.
Does Denrotary offer molar-specific buccal tubes?
Yes. Denrotary supplies orthodontic buccal tubes within its broad product range, including strong-bond monoblock options made under CE, FDA, and ISO13485 standards.

Post time: May-25-2026